


Have you ever wondered how projects like Decentraland are built? What's the underlying tech they are using and how easy would it be to build a metaverse from scratch by yourself?
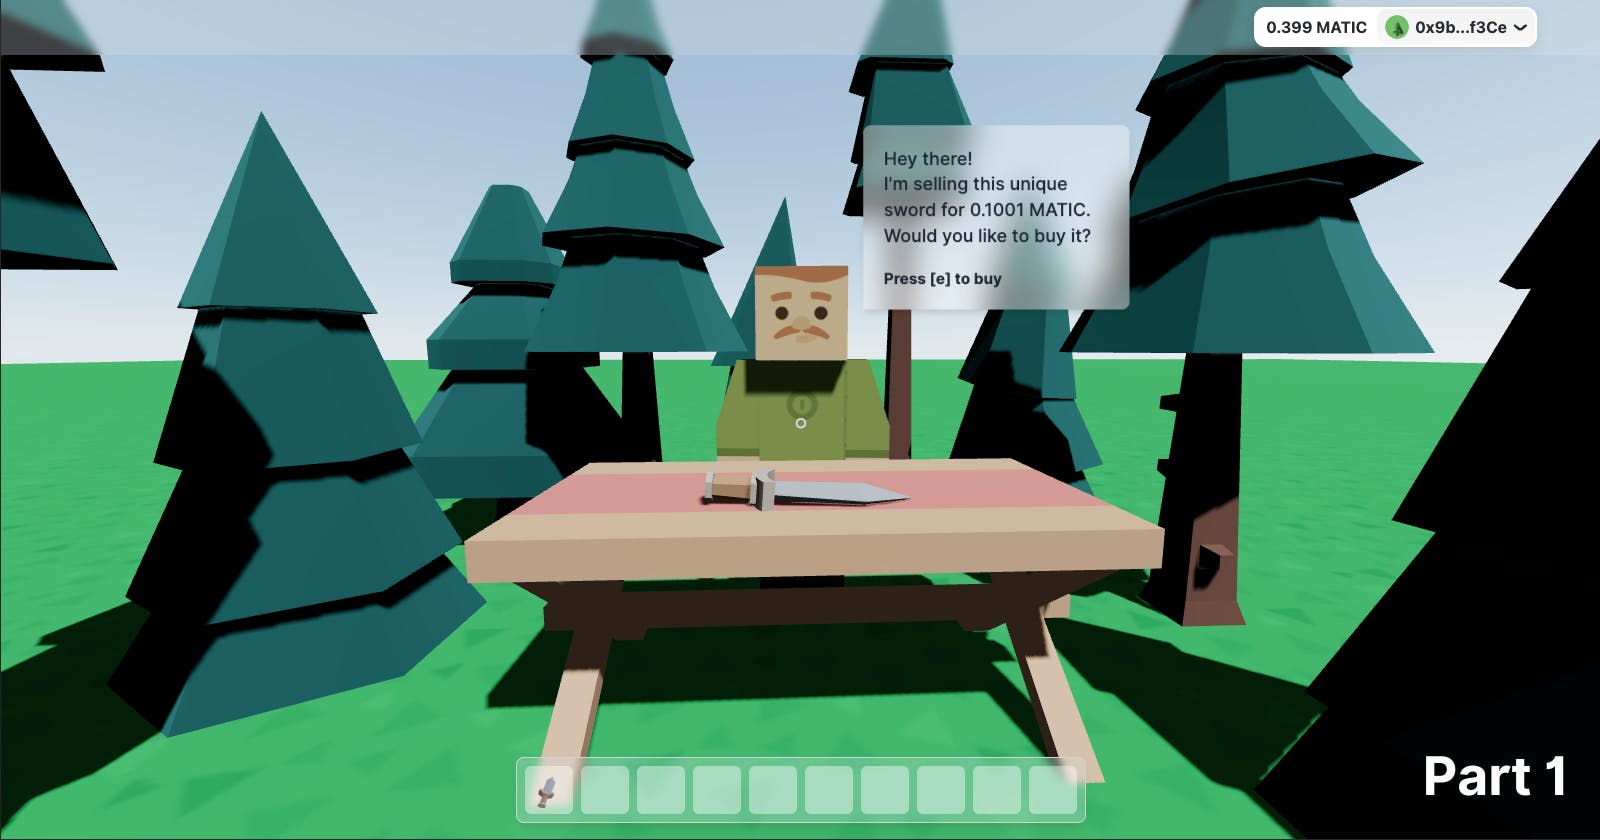
Well, in this 3 part tutorial series, we are going to do exactly that. We are going to start from zero and build our own little metaverse. In the end, you will have created a metaverse looking like this:
Deployed app: https://metaverse-demo-ten.vercel.app/
As shown in the video the end result will incorporate the following features:
A 3D world with objects
A first-person view, controllable with mouse and keyboard
An NPC that the player can interact with
An in-game item which can be minted as an NFT
A toolbar displaying all the NFTs the player owns
A reference to OpenSea where the user can trade his items on the open market
Our goal is to achieve this result with the least effort possible so we will rely on multiple libraries that make building a metaverse like this not too difficult. However, you don't need to be familiar with all of them. Also, we will achieve this without writing any line of Solidity and without any smart contract development in general.
Technology
We are going to use Next.js 13 with TypeScript for our React app since it is nowadays one of the recommended ways to build a React app. But since there will be nearly no Next.js-specific functionality in the project no prior knowledge of Next.js is needed and having a good understanding of React and TypeScript should suffice.
For the 3D world, we are going to use React Three Fiber (R3F). R3F for those of you who don't know is a React wrapper around Three.js, the infamous 3D library which gives a website that wow effect due to its beautiful 3D animations. Prior experience with Three.js is recommended to understand the 3D concepts but is not necessary. Furthermore, we are going to use the library drei which provides helpers for R3F which make things like creating a sky as easy as just dropping in a sky component.
As for the Web3 functionality, we are going to use wagmi for any contract interaction and RainbowKit with wagmi for the wallet connection. Experience with wagmi is recommended. The wallet itself is going to be MetaMask but you can use any Web3 wallet of your choice. For our NFT collection, we are going to use a tool called HeyMint made by Alchemy. HeyMint allows you to easily create an NFT collection for free within minutes just from their website. No Solidity knowledge is needed at all. In terms of the actual blockchain, we are deploying our smart contracts on Polygon's testnet Mumbai. Since the NFT metadata will be stored on IPFS we need to resolve IPFS URLs. We are going to use Infura to aid us with that. Lastly, we are going to provide the user with a link to OpenSea where he can trade his NFT on the open market.
As for the styling of some elements like the HUD we are going to use Tailwind CSS. However, this part is completely optional. I will not focus on the styling and you can use whatever you feel comfortable with or just copy my styles.
Steps
In order to not get overwhelmed by the big picture I have broken down our goal into the following tasks:
Project setup
Create 3D world with a ground, a sky and lighting
Enable player movement
Add trees, a table and an NPC to the world
Implement wallet connection
Create NFT collection using HeyMint
Add the sword model stored on IPFS to the metaverse
Implement a toolbar which fetches and displays all NFTs owned by the player
Add a crosshair and make NPC interactable
Implement minting functionality and trigger it on NPC interaction
Provide user feedback according to the transaction status
In this, the first part of the tutorial series, we will focus on the 3D world aspect of a metaverse (step 1-4). In the following two parts, we will tend to the rest of the to-dos.
Now, one more thing I want to say: Dare to be creative! If you want to add more objects to the world, make the player fly through the world instead of walking through it etc. take your time and do it. With that being said let's get going!
Implementation
Project setup
I'm going to use npm as the package manager because it is the most popular one. Feel free to use any package manager of your choice. Just be aware that you have to change the npm-related commands accordingly. Now open a terminal window, head over to the directory you want to start the project in and type the following:
npx create-next-app
Name your project, and confirm all the prompts with the answer selected by default.
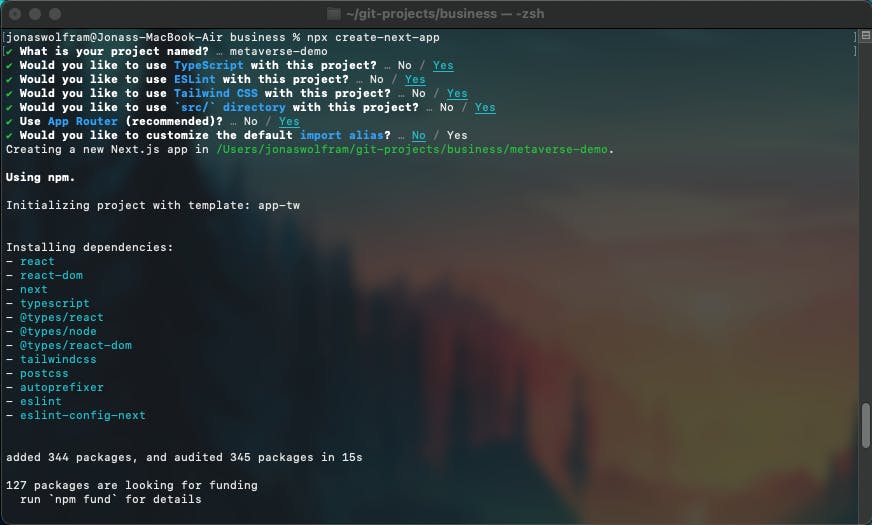
You should end up with a Next.js project, that uses TypeScript, ESLint, Tailwind CSS, a src directory, the new app router and no custom import aliases.
Next up we'll cd into the newly created directory and install Three.js, R3F and drei to be able to build our 3D world.
cd metaverse-demo
npm install three @react-three/fiber @react-three/drei
Once that is completed we will install all libraries necessary for the Web3 functionality (and viem, a peer dependency).
npm install wagmi viem @rainbow-me/rainbowkit
Done, now we have all the tools in place to build our metaverse.
Next up we want to delete all the boilerplate code that has been generated for us. Open the project in your code editor of choice, for me that's VS Code. Go into the file src/app/page.tsx, delete everything inside the main tag, its className attribute and remove the import statement at the top. So the whole file looks like this:
export default function Home() {
  return <main></main>;
}
Next up go into the file globals.css and remove everything except the first three lines.
@tailwind base;
@tailwind components;
@tailwind utilities;
Head over to the layout.tsx file and adjust the metadata to your liking.
export const metadata = {
  title: 'Metaverse Demo',
  description:
    'This dApp features a 3D metaverse with a mintable in-game item.',
};
Lastly, remove the files src/app/favicon.ico, public/next.svg, public/vercel.svg. Your project should now look something like this:
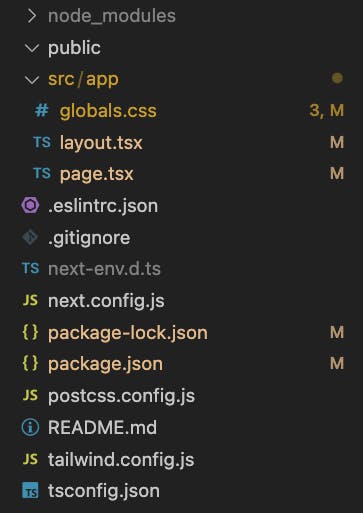
And your package.json should have the following content:
{
  "name": "metaverse-demo",
  "version": "0.1.0",
  "private": true,
  "scripts": {
    "dev": "next dev",
    "build": "next build",
    "start": "next start",
    "lint": "next lint"
  },
  "dependencies": {
    "@rainbow-me/rainbowkit": "^1.0.2",
    "@react-three/drei": "^9.74.16",
    "@react-three/fiber": "^8.13.3",
    "@types/node": "20.3.1",
    "@types/react": "18.2.12",
    "@types/react-dom": "18.2.5",
    "autoprefixer": "10.4.14",
    "eslint": "8.42.0",
    "eslint-config-next": "13.4.6",
    "next": "13.4.6",
    "postcss": "8.4.24",
    "react": "18.2.0",
    "react-dom": "18.2.0",
    "tailwindcss": "3.3.2",
    "three": "^0.153.0",
    "typescript": "5.1.3",
    "viem": "^1.0.7",
    "wagmi": "^1.2.0"
  }
}
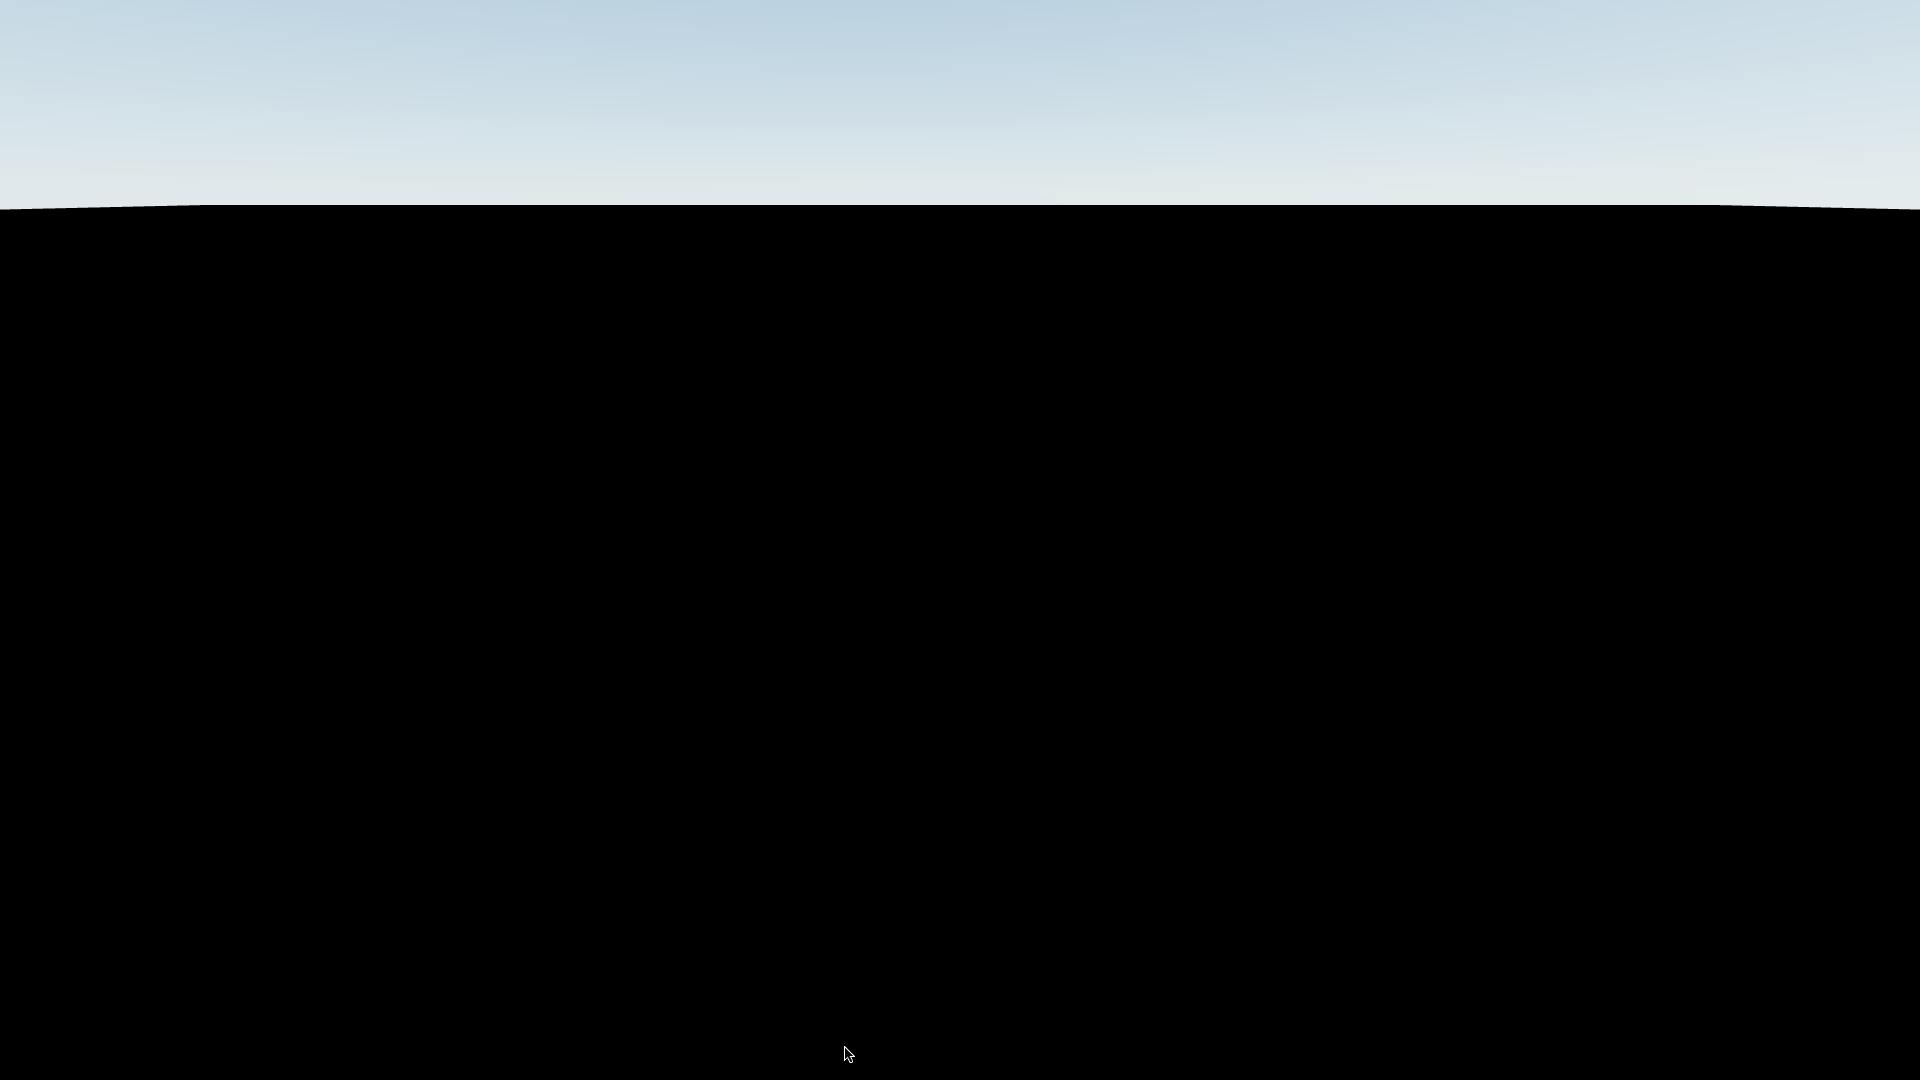
Great. Now we are actually ready to start. Type npm run dev to start the development server. If you don't see any errors and just a white screen in your browser you did well. Let's continue with the actual project, shall we?
Create 3D world with a ground, a sky and lighting
We already have our tools installed to make this happen easily. If you are familiar with Three.js you know that we need three things in order to create anything: A scene, a camera and a renderer. In normal Three.js you would need to write a bunch of lines to have this set up. In R3F you just need to import the Canvas component and wrap your whole 3D-related code with it. R3F takes care of the rest. So head over to the page.tsx file and import the Canvas component from @react-three/fiber.
import { Canvas } from '@react-three/fiber';
Inside the main tag use the Canvas component like so:
<main className="h-screen">
  <Canvas shadows camera={{ position: [0, 1, 2] }}></Canvas>
</main>
We pass the position property in order to position the camera. The array defines the x, y and z coordinates. Also, we use the shadows boolean prop to instruct the Three.js renderer to render shadows. Additionally, we add a class to the main tag which makes the main tag as big as the viewport. This needs to be done in order for our 3D world to be full-screen but the way you make it (CSS modules, styled-components, Tailwind CSS etc.) is up to you.
Since the Canvas component can't be rendered on the server we need to add "use client" at the top of the page to tell Next.js that this page is not a server component. After that, the file should look like this:
'use client';

import { Canvas } from '@react-three/fiber';

export default function Home() {
  return (
    <main className="h-screen">
      <Canvas shadows camera={{ position: [0, 1, 2] }}></Canvas>
    </main>
  );
}
Next up create a new directory src/components and create a new file in it called Experience.tsx. This file will contain our whole 3D-related code. The reason why we put it inside Experience.tsx and not directly in page.tsx is that the Canvas element is a provider for Three.js-related state and we can only access it with the help of hooks within child components of the provider. Inside the newly created file write the following code:
import { Sky } from '@react-three/drei';

export const Experience = () => {
  const sunPosition = [2, 6, 4] as const;

  return (
    <>
      <Sky sunPosition={sunPosition} />
    </>
  );
};
Inside the code, we import the Sky component from drei, use it inside the return statement and pass it the sun position which we store inside an array. We are storing it inside a variable because we will need it later again.
Next up let's create the ground. Create a new component called Ground.tsx and write the following code:
const WIDTH = 100;
const HEIGHT = 100;

export const Ground = () => {
  return (
    <mesh rotation={[-Math.PI * 0.5, 0, 0]} receiveShadow>
      <planeGeometry args={[WIDTH, HEIGHT]} />
      <meshStandardMaterial color={'green'} />
    </mesh>
  );
};
So what's happening here? We declare the dimensions of the ground and keep them stored in two variables for later use. Then we use the mesh element in order to create a Three.js mesh. R3F makes using Three.js super simple because it translates most Three.js classes to elements that we can just use inside our JSX code. R3F takes care of how the corresponding Three.js classes are instantiated and added to the scene. Next up we use the rotation attribute which rotates our plane by 90° to make it an actual ground and not a wall. We also specify that we want shadows to be displayed on this mesh with the receiveShadow boolean attribute. The mesh is composed of a plane geometry and a mesh standard material. We use the underlying Three.js classes by using the R3F elements planeGeometry and meshStandardMaterial. We pass our desired dimensions for the ground as the args prop to the geometry. Then we define the color of the ground using the color prop.
Now back in Experience.tsx we add the ground to the scene.
import { Sky } from '@react-three/drei';
import { Ground } from './Ground';

export const Experience = () => {
  const sunPosition = [2, 6, 4] as const;

  return (
    <>
      <Sky sunPosition={sunPosition} />
      <Ground />
    </>
  );
};
And we add our Experience component to page.tsx inside the Canvas element.
'use client';

import { Experience } from '@/components/Experience';
import { Canvas } from '@react-three/fiber';

export default function Home() {
  return (
    <main className="h-screen">
      <Canvas shadows camera={{ position: [0, 1, 2] }}>
        <Experience />
      </Canvas>
    </main>
  );
}
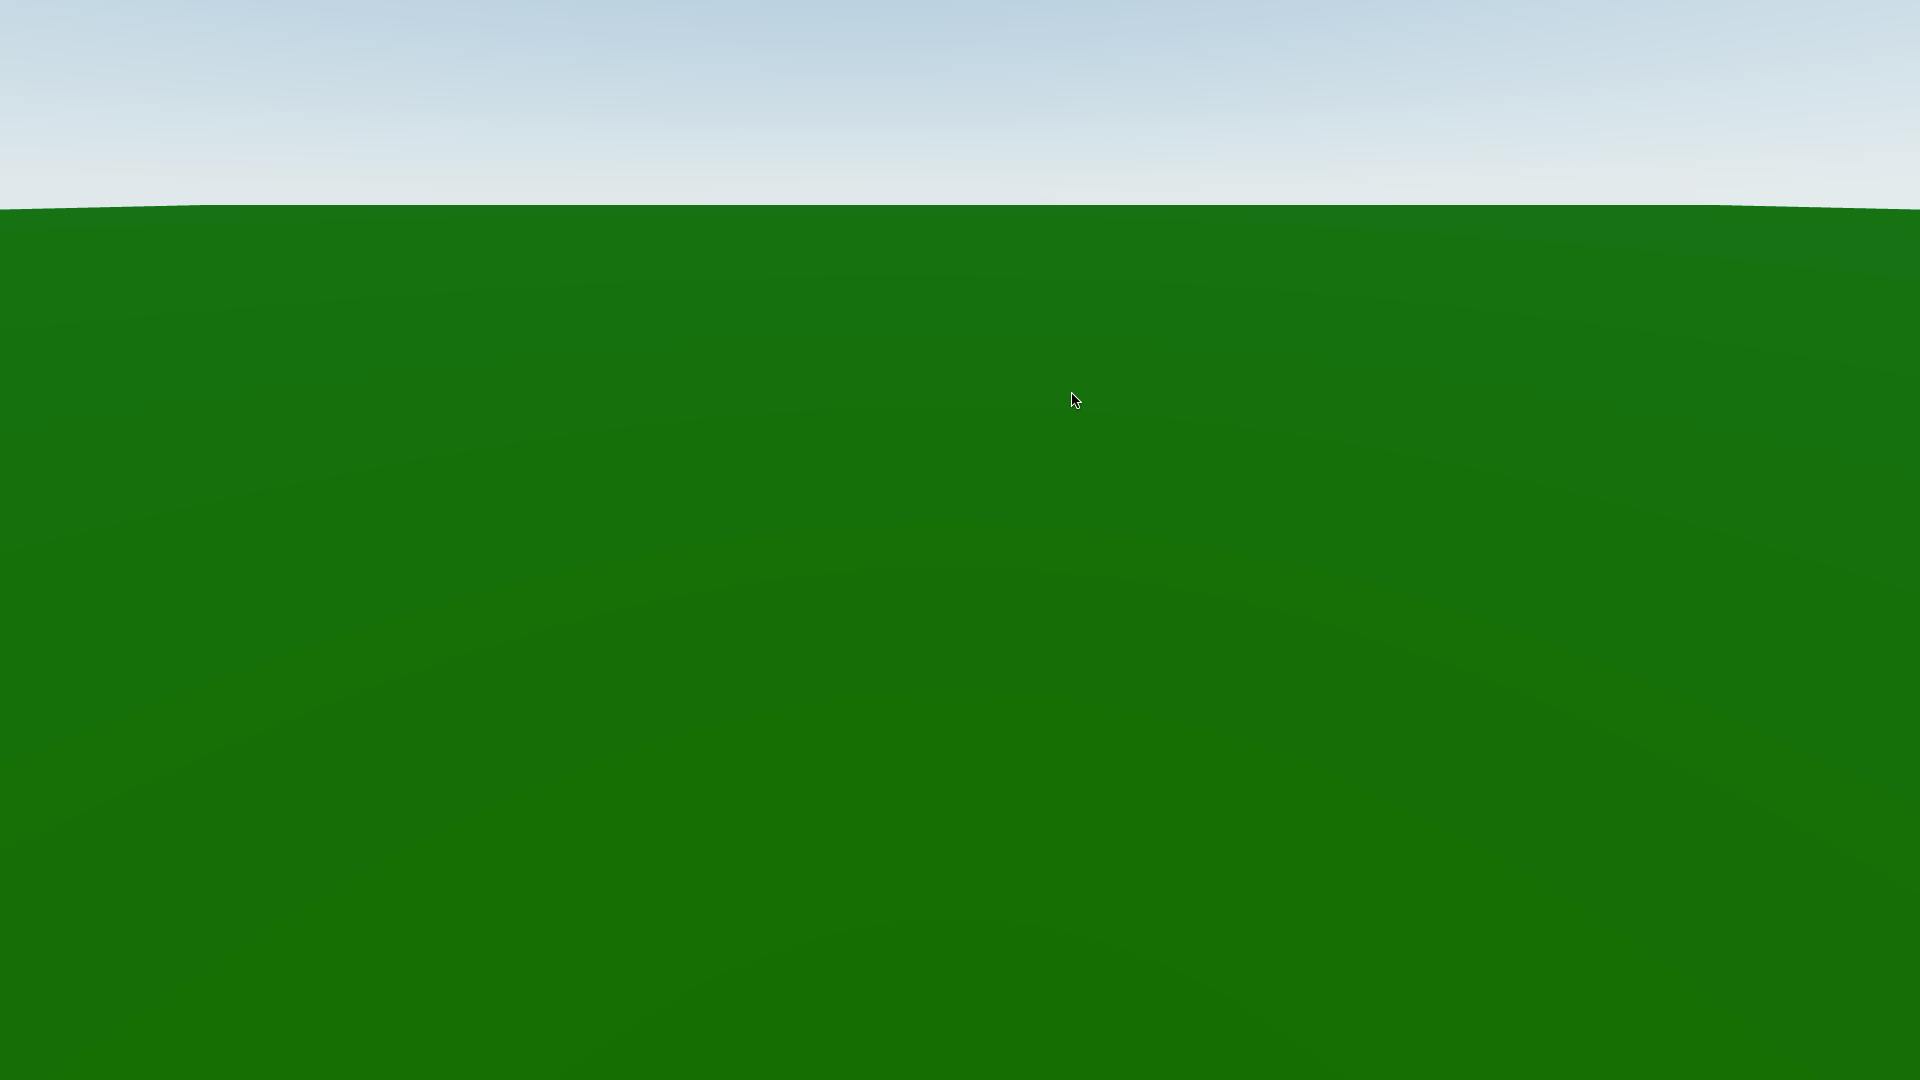
Now would be a good time to check out your browser. If you did everything correctly so far you should see this:
Something is missing. Yes, lights. So let's create a new component called Lighting.tsx and add the following code to it:
type Props = {
  sunPosition: readonly [number, number, number];
};

export const Lighting = ({ sunPosition }: Props) => {
  return (
    <>
      <ambientLight intensity={0.05} />
      <directionalLight
        castShadow
        position={sunPosition}
        intensity={0.75}
        shadow-mapSize={[2048, 2048]}
      />
    </>
  );
};
This creates an ambient light and a directional light. Additionally, the sun position is passed to the component as a prop which is then used to position the directional light. That way we create the illusion that our sun is emitting light. We tell the directional light to cause shadows by passing the castShadow boolean prop and increase the resolution of the shadows to look crisper by increasing the size of the shadow maps. Lastly, we set the intensity of both lights to something that works out well.
Now include the lighting in the Experience.tsx file.
import { Sky } from '@react-three/drei';
import { Ground } from './Ground';
import { Lighting } from './Lighting';

export const Experience = () => {
  const sunPosition = [2, 6, 4] as const;

  return (
    <>
      <Lighting sunPosition={sunPosition} />
      <Sky sunPosition={sunPosition} />
      <Ground />
    </>
  );
};
If you check your browser now you should see a bright green floor.
Now let's make this more pretty by adding a texture. You can use any texture that you want but for this tutorial, we will use a texture provided in the Map Pack by Kenney. Download the pack, unzip it and find the file called mapTile_022.png under kenney_map-pack/PNG/

Create a new directory called assets under public/ and create the folder textures in it. Then move the texture to that folder.
Next up change your code in Ground.tsx like so:
import { useTexture } from '@react-three/drei';
import * as THREE from 'three';

const WIDTH = 100;
const HEIGHT = 100;

export const Ground = () => {
  const texture = useTexture('/assets/textures/mapTile_022.png');
  texture.wrapS = THREE.RepeatWrapping;
  texture.wrapT = THREE.RepeatWrapping;
  texture.repeat.set(WIDTH, HEIGHT);

  return (
    <mesh rotation={[-Math.PI * 0.5, 0, 0]} receiveShadow>
      <planeGeometry args={[WIDTH, HEIGHT]} />
      <meshStandardMaterial map={texture} />
    </mesh>
  );
};
We use the useTexture hook provided by drei in order to easily load the texture into our component. Since the texture is really low resolution and we don't want it to stretch over the entire dimensions of our ground we need to set the wrapS and wrapT properties on the texture object to Three.RepeatWrapping. Additionally, we need to define how often it should be repeated. We set it to match the dimensions of our plane. Last but not least we set the map prop of meshStandardMaterial to the texture variable and removed the color property that we had before.
You should now see the following:
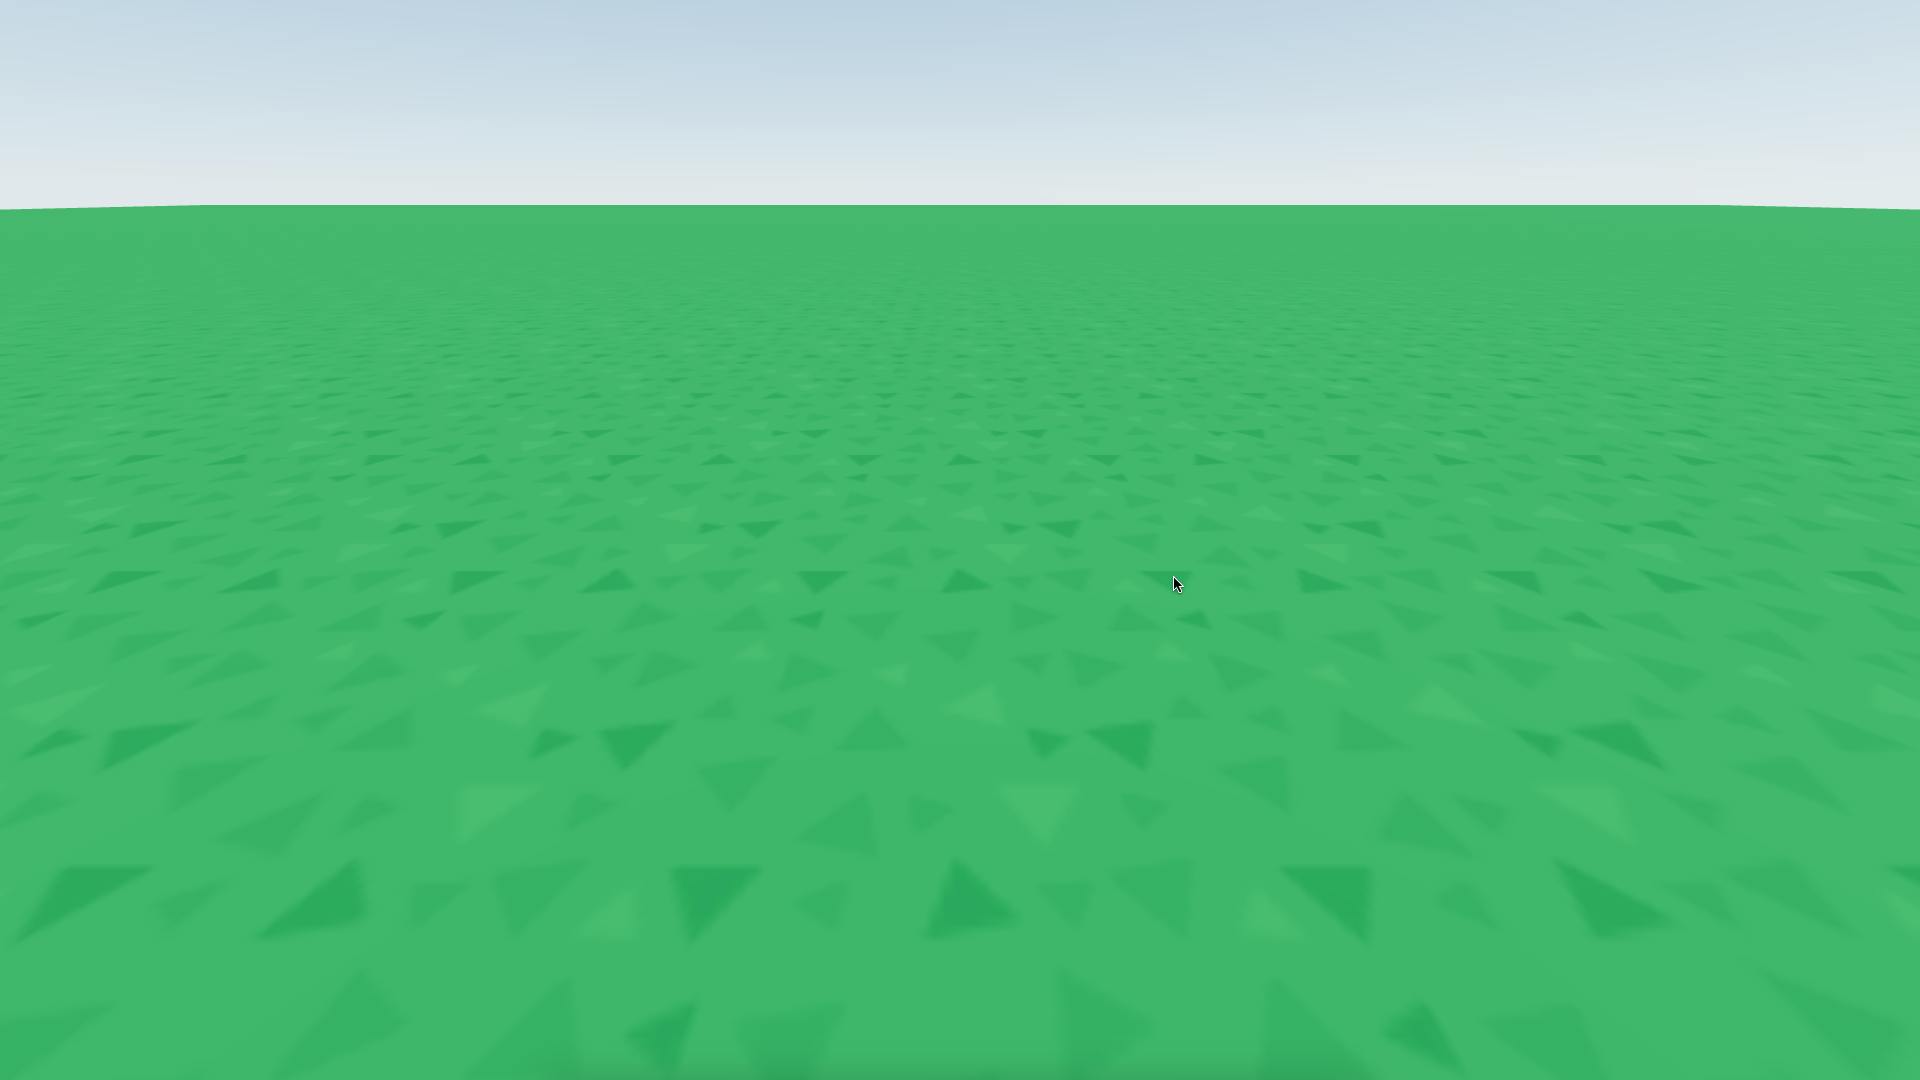
Looks a lot better already, right? Okay, we're done with this step. Let's continue!
Enable player movement
Now this is going to be a bit tricky but luckily there are already helper functions within the drei library that give us a great starting point. Create a new component called FirstPersonControls.tsx with this content:
import { PointerLockControls } from '@react-three/drei';

export const FirstPersonControls = () => {
  return <PointerLockControls />;
};
The PointerLockControls component does exactly what its name implies: It locks the pointer and makes first-person camera movement with the mouse possible.
Now import the new component in Experience.tsx and add it to the return statement.
import { Sky } from '@react-three/drei';
import { Ground } from './Ground';
import { Lighting } from './Lighting';
import { FirstPersonControls } from './FirstPersonControls';

export const Experience = () => {
  const sunPosition = [2, 6, 4] as const;

  return (
    <>
      <Lighting sunPosition={sunPosition} />
      <Sky sunPosition={sunPosition} />
      <Ground />
      <FirstPersonControls />
    </>
  );
};
If you check out the browser now you should already be able to look around in the world.
Now that the camera orientation depending on the mouse has been taken care of we need to enable player movement. For that to happen we need to listen to keyboard events. We want to know when the user presses the w, s, a, d keys etc. and adjust the camera (player) position accordingly.
We could do that traditionally and declare event listeners etc. ourselves but drei got us covered already and we can just use their KeyboardControls component to do the job. Head over to page.tsx and adjust the code accordingly:
'use client';

import { Experience } from '@/components/Experience';
import { KeyboardControlsEntry, KeyboardControls } from '@react-three/drei';
import { Canvas } from '@react-three/fiber';

export type Controls = 'forward' | 'backward' | 'left' | 'right';

export default function Home() {
  const map: KeyboardControlsEntry<Controls>[] = [
    { name: 'forward', keys: ['ArrowUp', 'KeyW'] },
    { name: 'backward', keys: ['ArrowDown', 'KeyS'] },
    { name: 'left', keys: ['ArrowLeft', 'KeyA'] },
    { name: 'right', keys: ['ArrowRight', 'KeyD'] },
  ];

  return (
    <main className="h-screen">
      <Canvas shadows camera={{ position: [0, 1, 2] }}>
        <KeyboardControls map={map}>
          <Experience />
        </KeyboardControls>
      </Canvas>
    </main>
  );
}
So at the top of the file we define a string literal union type Controls for the possible movement directions. Within our component, we declare an array of the drei type KeyboardControlsEntry<T> and pass it our Controls type. We want to move forward if either the arrowUp key or the w key is pressed. We set the configuration for the other directions accordingly and pass this array as a prop to the KeyboardControls component that we import from drei. The Experience component is now wrapped by the KeyboardControls component which is a provider for state regarding keyboard events.
Next, we want to move the camera depending on the button that is currently pressed. Open up the FirsPersonControls.tsx component again and let's get the information about which key is pressed by including the hook useKeyboardControls.
import { Controls } from '@/app/page';
import { PointerLockControls, useKeyboardControls } from '@react-three/drei';

export const FirstPersonControls = () => {
  const [_, getKeyboardControls] = useKeyboardControls<Controls>();

  return <PointerLockControls />;
};
As a type argument, we pass the Controls string literal union type. The second item of the tuple that is returned is a function which we can call to get the current state of our keyboard controls.
Next, we want to use the useFrame and the useThree hook from R3F. The useFrame hook takes a callback as an argument which is called on every frame. Perfect for getting the current state of the keyboard controls and do something with it. The useThree hook is used to retrieve the instance of the camera that is being used behind the scenes. We need it because we want to update its position based on the keyboard controls within the useFrame hook.
import { Controls } from '@/app/page';
import { PointerLockControls, useKeyboardControls } from '@react-three/drei';
import { useFrame, useThree } from '@react-three/fiber';

export const FirstPersonControls = () => {
  const [_, getKeyboardControls] = useKeyboardControls<Controls>();
  const camera = useThree((state) => state.camera);

  useFrame(() => {
    // Do something
  })

  return <PointerLockControls />;
};
Let's add a constant under the import statements which defines the movement speed.
const MOVEMENT_SPEED = 5;
And now let's define a new function move inside the component with a parameter called delta.
const move = (delta: number) => {
  // Do something
};
delta is the time that has passed since the last frame. This is useful because we need to scale some values in order to make them FPS agnostic. If we would for example move the camera position to the right by 1 unit on every frame then on a 60 FPS screen the camera would be moved by 60 units in one second whereas on a 30 FPS screen that camera would just be moved by 30 units in one second. By basically scaling that value (1 unit) with the delta we ensure that the camera moves the same distance on both screens since the delta of a 30 FPS screen is twice as big as the delta of a 60 FPS screen.
Add the following import statement at the top of the file:
import * as THREE from 'three'
Now let's add the logic to the move function.
const move = (delta: number) => {
  const { forward, backward, left, right } = getKeyboardControls();
  const velocityX =
    (left && !right ? -MOVEMENT_SPEED : !left && right ? MOVEMENT_SPEED : 0) *
    delta;
  const velocityZ =
    (forward && !backward
      ? MOVEMENT_SPEED
      : !forward && backward
      ? -MOVEMENT_SPEED
      : 0) * delta;

  const newCameraPosition = new THREE.Vector3();
  camera.getWorldPosition(newCameraPosition);

  const cameraDirection = new THREE.Vector3();
  camera.getWorldDirection(cameraDirection);

  // Retrieve the vector that is perpendicular to the camera direction and the y-axis in order to be able to move left/right
  const cameraDirectionNormal = new THREE.Vector3().copy(cameraDirection);
  const yAxis = new THREE.Vector3(0, 1, 0);
  cameraDirectionNormal.cross(yAxis);

  newCameraPosition.add(
    new THREE.Vector3(cameraDirectionNormal.x, 0, cameraDirectionNormal.z)
      .normalize()
      .multiplyScalar(velocityX)
  );
  newCameraPosition.add(
    new THREE.Vector3(cameraDirection.x, 0, cameraDirection.z)
      .normalize()
      .multiplyScalar(velocityZ)
  );

  camera.position.copy(newCameraPosition);
};
Now this code is a bit hard to understand since it involves some mathematics but bear with me.
It basically boils down to the following:
Get the current state of our keyboard controls with the
getKeyboardControlsfunction --> If a button is pressed the corresponding variable is set to true.Figure out the velocity depending on the currently pressed (or not pressed) key and the defined movement speed --> If the user presses the
dkey we want to move to the right so the velocity is+MOVEMENT_SPEED. If he presses theakey it is-MOVEMENT_SPEEDetc.Scale that velocity with
delta--> We need to move the camera faster on a screen with a smaller frame rate since the functionmoveis called less often than on a screen with a higher frame rate.Get the current camera position and direction and store it in
newCameraPositionandcameraDirectionrespectively.Find out the direction vector that is perpendicular to the plane created by the direction vector of the camera and the y-axis --> This is for moving left and right.
Now we want to scale the direction vectors that we have (front-back and left-right) with the velocity to find out where and how far we should move.
Calculate new position by taking the old position, and adding the scaled direction vectors.
Voilá, we have our new position and set the camera position to match the coordinates.
Next, call the move function from within the useFrame function and pass the delta.
useFrame((_, delta) => {
    move(delta);
});
The entire file should now look like this:
import { Controls } from '@/app/page';
import { PointerLockControls, useKeyboardControls } from '@react-three/drei';
import { useFrame, useThree } from '@react-three/fiber';
import * as THREE from 'three';

const MOVEMENT_SPEED = 5;

export const FirstPersonControls = () => {
  const [_, getKeyboardControls] = useKeyboardControls<Controls>();
  const camera = useThree((state) => state.camera);

  useFrame((_, delta) => {
    move(delta);
  });

  const move = (delta: number) => {
    const { forward, backward, left, right } = getKeyboardControls();
    const velocityX =
      (left && !right ? -MOVEMENT_SPEED : !left && right ? MOVEMENT_SPEED : 0) *
      delta;
    const velocityZ =
      (forward && !backward
        ? MOVEMENT_SPEED
        : !forward && backward
        ? -MOVEMENT_SPEED
        : 0) * delta;

    const newCameraPosition = new THREE.Vector3();
    camera.getWorldPosition(newCameraPosition);

    const cameraDirection = new THREE.Vector3();
    camera.getWorldDirection(cameraDirection);

    // Retrieve the vector that is perpendicular to the camera direction and the y-axis in order to be able to move left/right
    const cameraDirectionNormal = new THREE.Vector3().copy(cameraDirection);
    const yAxis = new THREE.Vector3(0, 1, 0);
    cameraDirectionNormal.cross(yAxis);

    newCameraPosition.add(
      new THREE.Vector3(cameraDirectionNormal.x, 0, cameraDirectionNormal.z)
        .normalize()
        .multiplyScalar(velocityX)
    );
    newCameraPosition.add(
      new THREE.Vector3(cameraDirection.x, 0, cameraDirection.z)
        .normalize()
        .multiplyScalar(velocityZ)
    );

    camera.position.copy(newCameraPosition);
  };

  return <PointerLockControls />;
};
And with that we have our first-person controls set up. Head over to the browser. Now you should be able to move and pan the camera in every direction.
Add trees, a table and an NPC to the world
Let's make our world a bit more lively by adding some models to the world. We will start by adding some trees to the world.
Trees
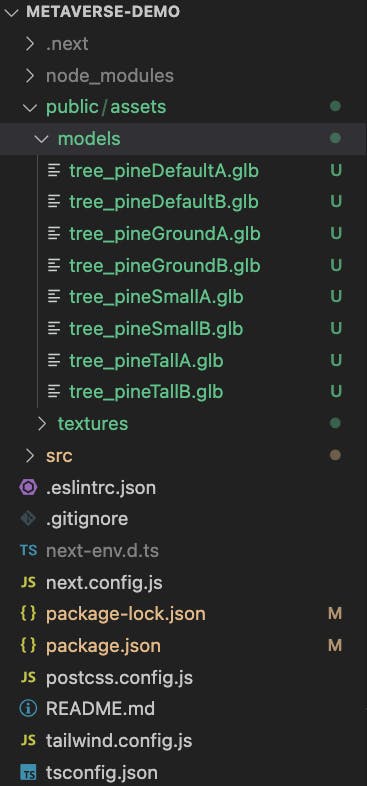
Create a new folder called models in public/assets/. We will take trees provided by Kenney in his Nature Kit. Just download the resource and unzip it. Then you can select the models that you want to use within the folder kenney_nature-kit/Models/GLTF/. Move the models you selected into the folder under public/assets/models/. Here is my selection:
Now we are going to use the command line tool gltfjsx to generate ready-to-use React components from these .glb files which we can just use within our scene. Execute the following npx command from the root of your project:
npx gltfjsx public/assets/models/tree_pineDefaultA.glb -o src/components/TreePineDefaultA.tsx -t -s -r public
The first argument is the input path, the -o flag is used to define the output path, the -t flag is used to generate TypeScript types, the -s flag is used to make this model emit and receive shadows and lastly the -r flag is used to define the root of our assets.
After execution we should have a file like this under src/components/TreePineDefaultA.tsx:
/*
Auto-generated by: https://github.com/pmndrs/gltfjsx
Command: npx gltfjsx@6.2.3 public/assets/models/tree_pineDefaultA.glb -o src/components/TreePineDefaultA.tsx -t -s -r public
*/

import * as THREE from 'three'
import React, { useRef } from 'react'
import { useGLTF } from '@react-three/drei'
import { GLTF } from 'three-stdlib'

type GLTFResult = GLTF & {
  nodes: {
    Mesh_tree_pineDefaultA: THREE.Mesh
    Mesh_tree_pineDefaultA_1: THREE.Mesh
  }
  materials: {
    leafsDark: THREE.MeshStandardMaterial
    woodBarkDark: THREE.MeshStandardMaterial
  }
}

export function Model(props: JSX.IntrinsicElements['group']) {
  const { nodes, materials } = useGLTF('/assets/models/tree_pineDefaultA.glb') as GLTFResult
  return (
    <group {...props} dispose={null}>
      <group position={[0, -0.05, 0]}>
        <mesh castShadow receiveShadow geometry={nodes.Mesh_tree_pineDefaultA.geometry} material={materials.leafsDark} />
        <mesh castShadow receiveShadow geometry={nodes.Mesh_tree_pineDefaultA_1.geometry} material={materials.woodBarkDark} />
      </group>
    </group>
  )
}

useGLTF.preload('/assets/models/tree_pineDefaultA.glb')
You might be wondering what's happening here. In a nutshell the helper function useGLTF is used to fetch the binary model data. The model contains data about used nodes and materials which then get passed to the right R3F elements. Additionally, because of the -s flag we used in the npx command the castShadow and receiveShadow props are passed to the meshes to make them participate in the shadow system.
Repeat this command for every tree model you got in your public/assets/models/ folder and adjust the input and output arguments accordingly. After that create a new component called Flora.tsx under src/components/. Import a tree component like so:
import { Model as TreePineDefaultA } from './TreePineDefaultA';
After having imported all tree components and having returned these within the return statement your file should look like this:
import { Model as TreePineDefaultA } from './TreePineDefaultA';
import { Model as TreePineDefaultB } from './TreePineDefaultB';
import { Model as TreePineGroundA } from './TreePineGroundA';
import { Model as TreePineGroundB } from './TreePineGroundB';
import { Model as TreePineSmallA } from './TreePineSmallA';
import { Model as TreePineSmallB } from './TreePineSmallB';
import { Model as TreePineTallA } from './TreePineTallA';
import { Model as TreePineTallB } from './TreePineTallB';

export const Flora = () => {
  return (
    <>
      <TreePineDefaultA />
      <TreePineDefaultB />
      <TreePineGroundA />
      <TreePineGroundB />
      <TreePineSmallA />
      <TreePineSmallB />
      <TreePineTallA />
      <TreePineTallB />
      <TreePineGroundA />
    </>
  );
};
I also added a second TreePineGroundA as flora which will complement the others well in our final render.
Now import and use the Flora component in Experience.tsx.
import { Sky } from '@react-three/drei';
import { Ground } from './Ground';
import { Lighting } from './Lighting';
import { FirstPersonControls } from './FirstPersonControls';
import { Flora } from './Flora';

export const Experience = () => {
  const sunPosition = [2, 6, 4] as const;

  return (
    <>
      <Lighting sunPosition={sunPosition} />
      <Sky sunPosition={sunPosition} />
      <Flora />
      <Ground />
      <FirstPersonControls />
    </>
  );
};
Your browser should now render this:
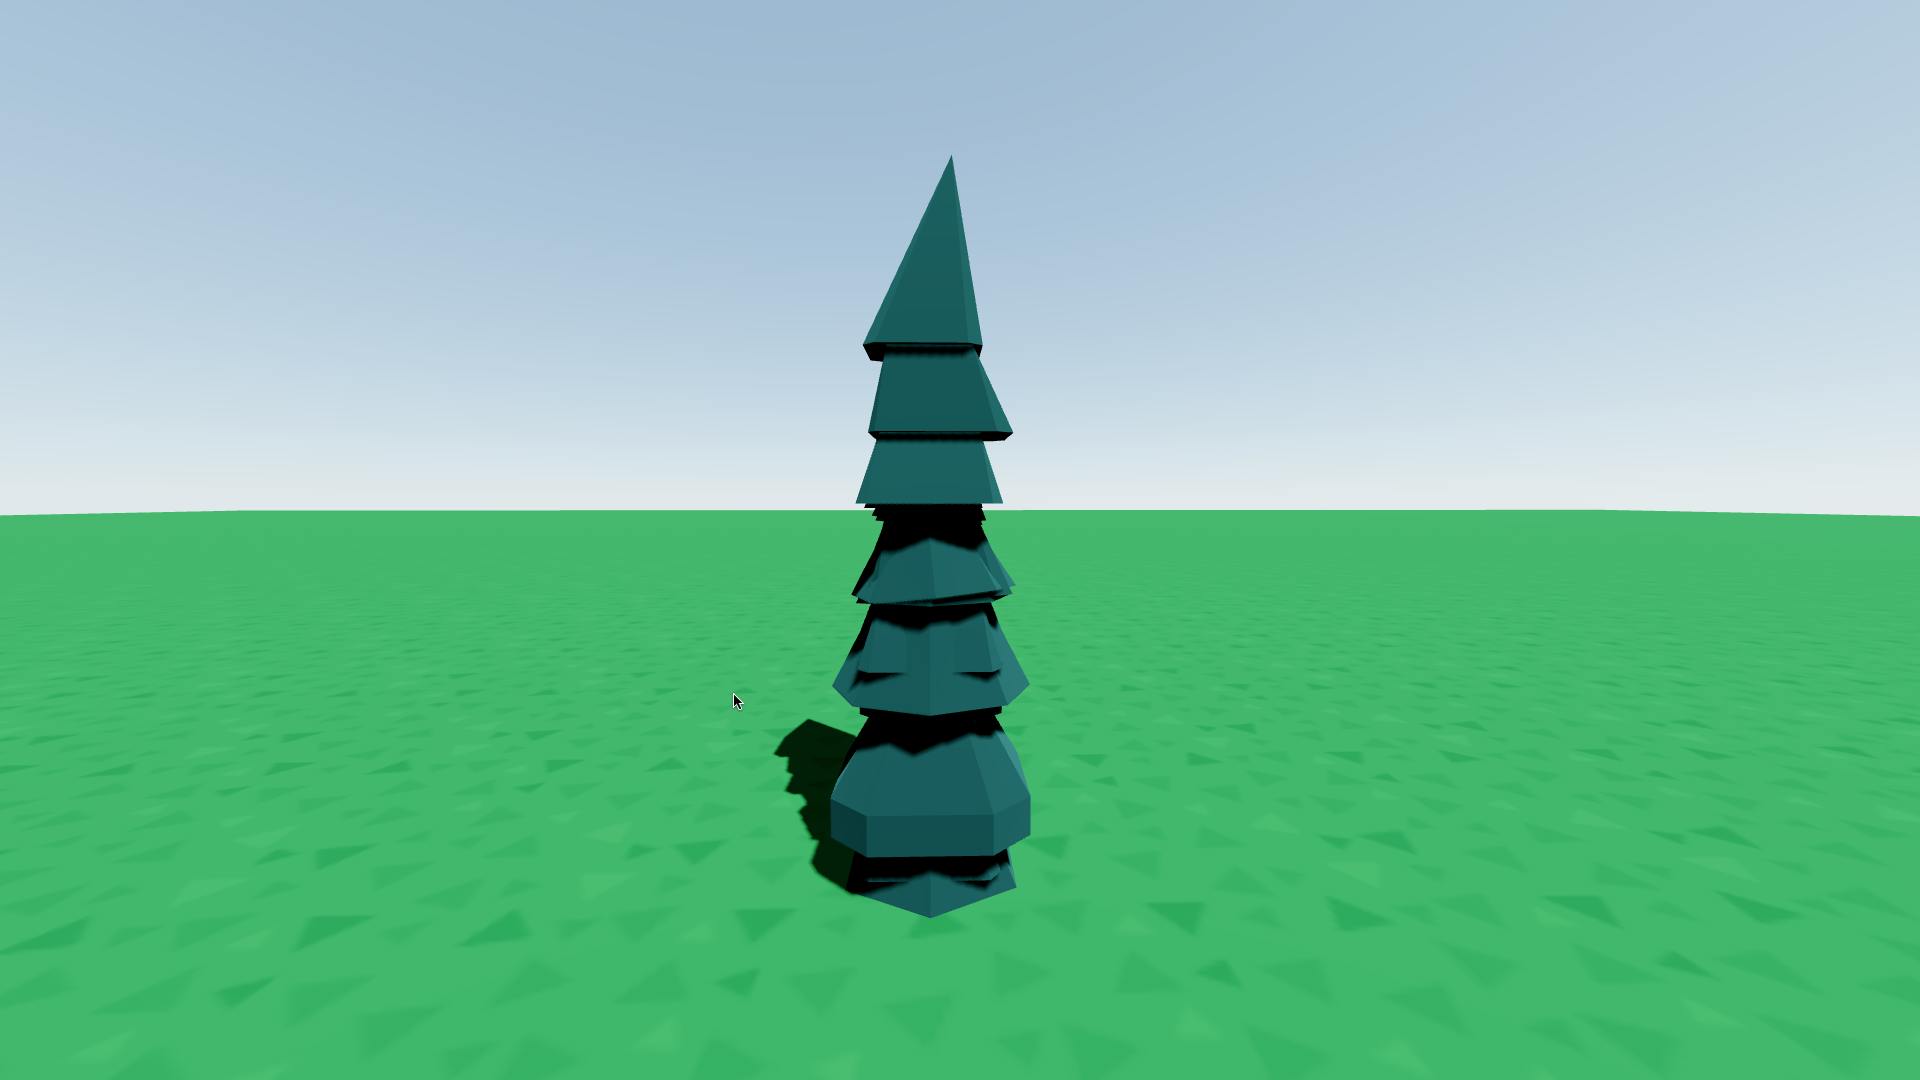
Since we didn't position the trees yet they will all be positioned at 0, 0 which looks a bit weird. So let's give them a position and scale them a little bit to make them bigger. Head over to Flora.tsx again and adjust the code to your liking. For me, the following values work well:
import { Model as TreePineDefaultA } from './TreePineDefaultA';
import { Model as TreePineDefaultB } from './TreePineDefaultB';
import { Model as TreePineGroundA } from './TreePineGroundA';
import { Model as TreePineGroundB } from './TreePineGroundB';
import { Model as TreePineSmallA } from './TreePineSmallA';
import { Model as TreePineSmallB } from './TreePineSmallB';
import { Model as TreePineTallA } from './TreePineTallA';
import { Model as TreePineTallB } from './TreePineTallB';

export const Flora = () => {
  return (
    <>
      <TreePineDefaultA
        scale={2}
        position={[-0.016080008055036454, 0, -1.5946660140455546]}
      />
      <TreePineDefaultB
        scale={2}
        position={[2.2334426760556387, 0, -0.8044683215343147]}
      />
      <TreePineGroundA
        scale={2}
        position={[-0.9377797873199953, 0, -0.7663750004345538]}
      />
      <TreePineGroundB
        scale={2}
        position={[2.093386452223616, 0, -2.033125259531159]}
      />
      <TreePineSmallA
        scale={2}
        position={[-0.7436133828316323, 0, -1.976026160513265]}
      />
      <TreePineSmallB
        scale={2}
        position={[0.6137078629108262, 0, -2.29620985118136]}
      />
      <TreePineTallA
        scale={2}
        position={[-0.9485112824800022, 0, 0.302335921374173]}
      />
      <TreePineTallB
        scale={2}
        position={[1.5067106069413965, 0, -2.656122667834217]}
      />
      <TreePineGroundA
        scale={2}
        position={[2.1578139075525926, 0, 0.28720639251666213]}
      />
    </>
  );
};
This should render something like this:
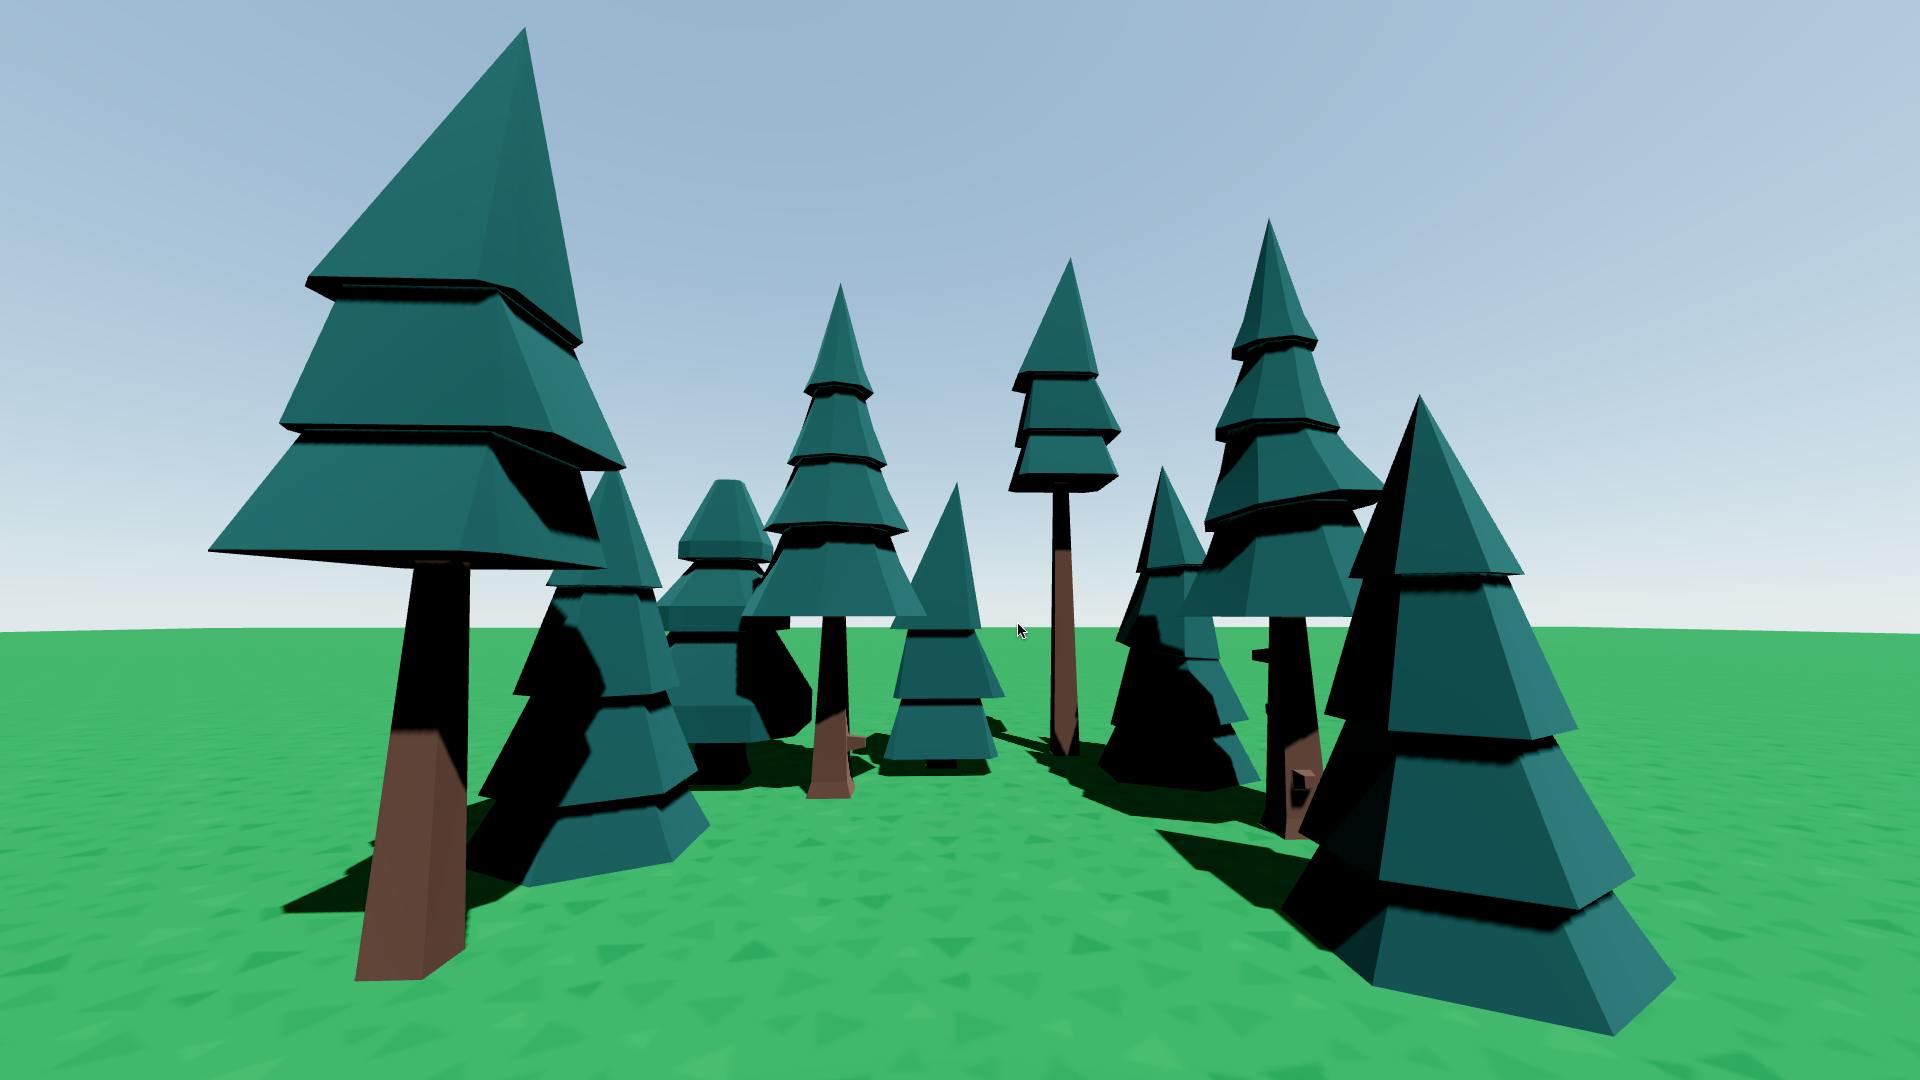
Great we got our little forest in our world.
Table
We will add the table the same way as before. First, we need to find a fitting model online. Kenney got us covered again and in his Furniture Kit he provides us with a beautiful low-poly table model. After downloading and unzipping it find the file tableCrossCloth.glb under kenney_furniture-kit/Models/GLTF format/ and move it to public/assets/models/. Like before you can also use any other table that you like instead.
Execute the gltfjsx command just like before but now for the table.
npx gltfjsx public/assets/models/tableCrossCloth.glb -o src/components/TableCrossCloth.tsx -t -s -r public
And add the newly created component to the return statement of Experience.tsx with a position and scale that fits your scene.
import { Sky } from '@react-three/drei';
import { Ground } from './Ground';
import { Lighting } from './Lighting';
import { FirstPersonControls } from './FirstPersonControls';
import { Flora } from './Flora';
import { Model as Table } from './TableCrossCloth';

export const Experience = () => {
  const sunPosition = [2, 6, 4] as const;

  return (
    <>
      <Lighting sunPosition={sunPosition} />
      <Sky sunPosition={sunPosition} />
      <Flora />
      <Ground />
      <FirstPersonControls />
      <Table scale={1.75} position={[0, 0, 0]} />
    </>
  );
};
Now next time you open your browser there should be a pretty table in the middle of our little forest.
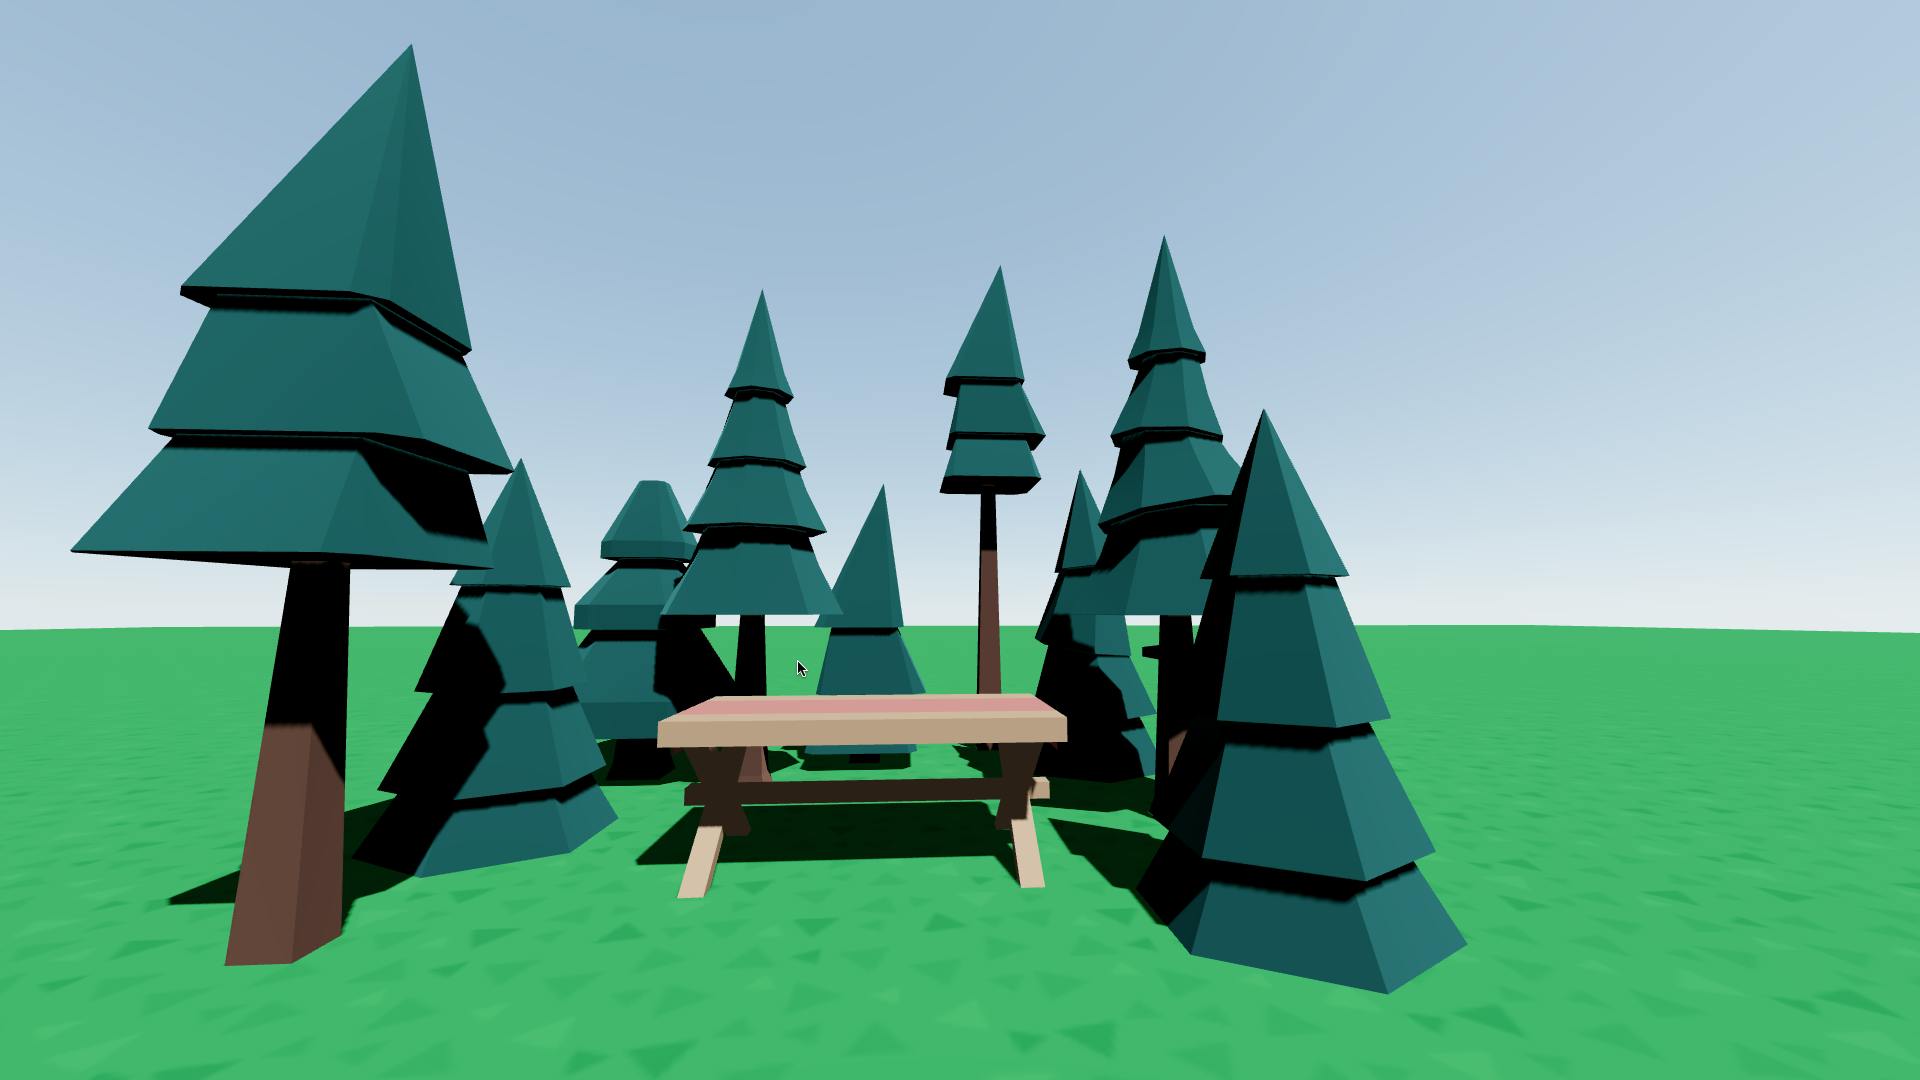
We're making great progress, keep going.
Vendor
Head over to Blocky Characters brought to you by Kenney and download the archive. Unzip it and move the file advancedCharacter.gltf in kenney_blocky-characters/Models/Non-rigged/glTF/ to public/assets/models/. Also, since this model does not contain a texture we need to additionally get the texture and apply it to the model. Under kenney_blocky-characters/Skins/Advanced/ move the file skin_manAlternative.png to public/assets/textures/.
Now, as before run the following command:
npx gltfjsx public/assets/models/advancedCharacter.gltf -o src/components/AdvancedCharacter.tsx -t -s -r public
Create a new component called Vendor.tsx in src/components/ and return the AdvancedCharacter component from it. Additionally, pass scale, rotation, position props to it where needed. The following values work well in my opinion:
import { Model as AdvancedCharacter } from './AdvancedCharacter';

export const Vendor = () => {
  return (
    <AdvancedCharacter
      scale={0.08}
      rotation={[0, -0.1, 0]}
      position={[0.7508242325314055, 0, -0.9590807472709626]}
    />
  );
};
We created an additional component Vendor instead of using the AdvancedCharacter component directly inside Experience.tsx because we will add more logic to the Vendor.tsx file later on and Experience.tsx might get messy otherwise.
Add the new Vendor component in Experience.tsx and have a look at your browser.

As you can see we just imported the model without any texture. Go into the AdvancedCharacter.tsx file and import the useTexture hook from drei.
import { useTexture } from '@react-three/drei'
Then add the following lines to your component:
const texture = useTexture('/assets/textures/skin_manAlternative.png');
texture.flipY = false;
texture.colorSpace = THREE.SRGBColorSpace;

const material = new THREE.MeshStandardMaterial({
  map: texture,
});
What this code basically does is it fetches the texture, then flips it because otherwise the texture would be applied in a wrong way, sets the color encoding to be sRGB and creates a Three.js MeshStandardMaterial with that texture.
Now instead of passing materials.lambert1 as the material for our meshes we want to pass our newly created material. Also, since the materials returned from useGLTF are not used anymore feel free to remove the destructured variable. After the edits the file should look like this.
/*
Auto-generated by: https://github.com/pmndrs/gltfjsx
Command: npx gltfjsx@6.2.3 public/assets/models/advancedCharacter.gltf -o src/components/AdvancedCharacter.tsx -t -s -r public
*/

import * as THREE from 'three';
import React, { useRef } from 'react';
import { useGLTF } from '@react-three/drei';
import { GLTF } from 'three-stdlib';
import { useTexture } from '@react-three/drei';

type GLTFResult = GLTF & {
  nodes: {
    Body1: THREE.Mesh;
    Head1: THREE.Mesh;
    ArmLeft1: THREE.Mesh;
    ArmRight1: THREE.Mesh;
    LegLeft1: THREE.Mesh;
    LegRight1: THREE.Mesh;
  };
  materials: {
    lambert1: THREE.MeshStandardMaterial;
  };
};

export function Model(props: JSX.IntrinsicElements['group']) {
  const { nodes } = useGLTF(
    '/assets/models/advancedCharacter.gltf'
  ) as GLTFResult;

  const texture = useTexture('/assets/textures/skin_manAlternative.png');
  texture.flipY = false;
  texture.colorSpace = THREE.SRGBColorSpace;

  const material = new THREE.MeshStandardMaterial({
    map: texture,
  });

  return (
    <group {...props} dispose={null}>
      <mesh
        castShadow
        receiveShadow
        geometry={nodes.Body1.geometry}
        material={material}
      />
      <mesh
        castShadow
        receiveShadow
        geometry={nodes.Head1.geometry}
        material={material}
      />
      <mesh
        castShadow
        receiveShadow
        geometry={nodes.ArmLeft1.geometry}
        material={material}
      />
      <mesh
        castShadow
        receiveShadow
        geometry={nodes.ArmRight1.geometry}
        material={material}
      />
      <mesh
        castShadow
        receiveShadow
        geometry={nodes.LegLeft1.geometry}
        material={material}
      />
      <mesh
        castShadow
        receiveShadow
        geometry={nodes.LegRight1.geometry}
        material={material}
      />
    </group>
  );
}

useGLTF.preload('/assets/models/advancedCharacter.gltf');
There we go. We have our little vendor.
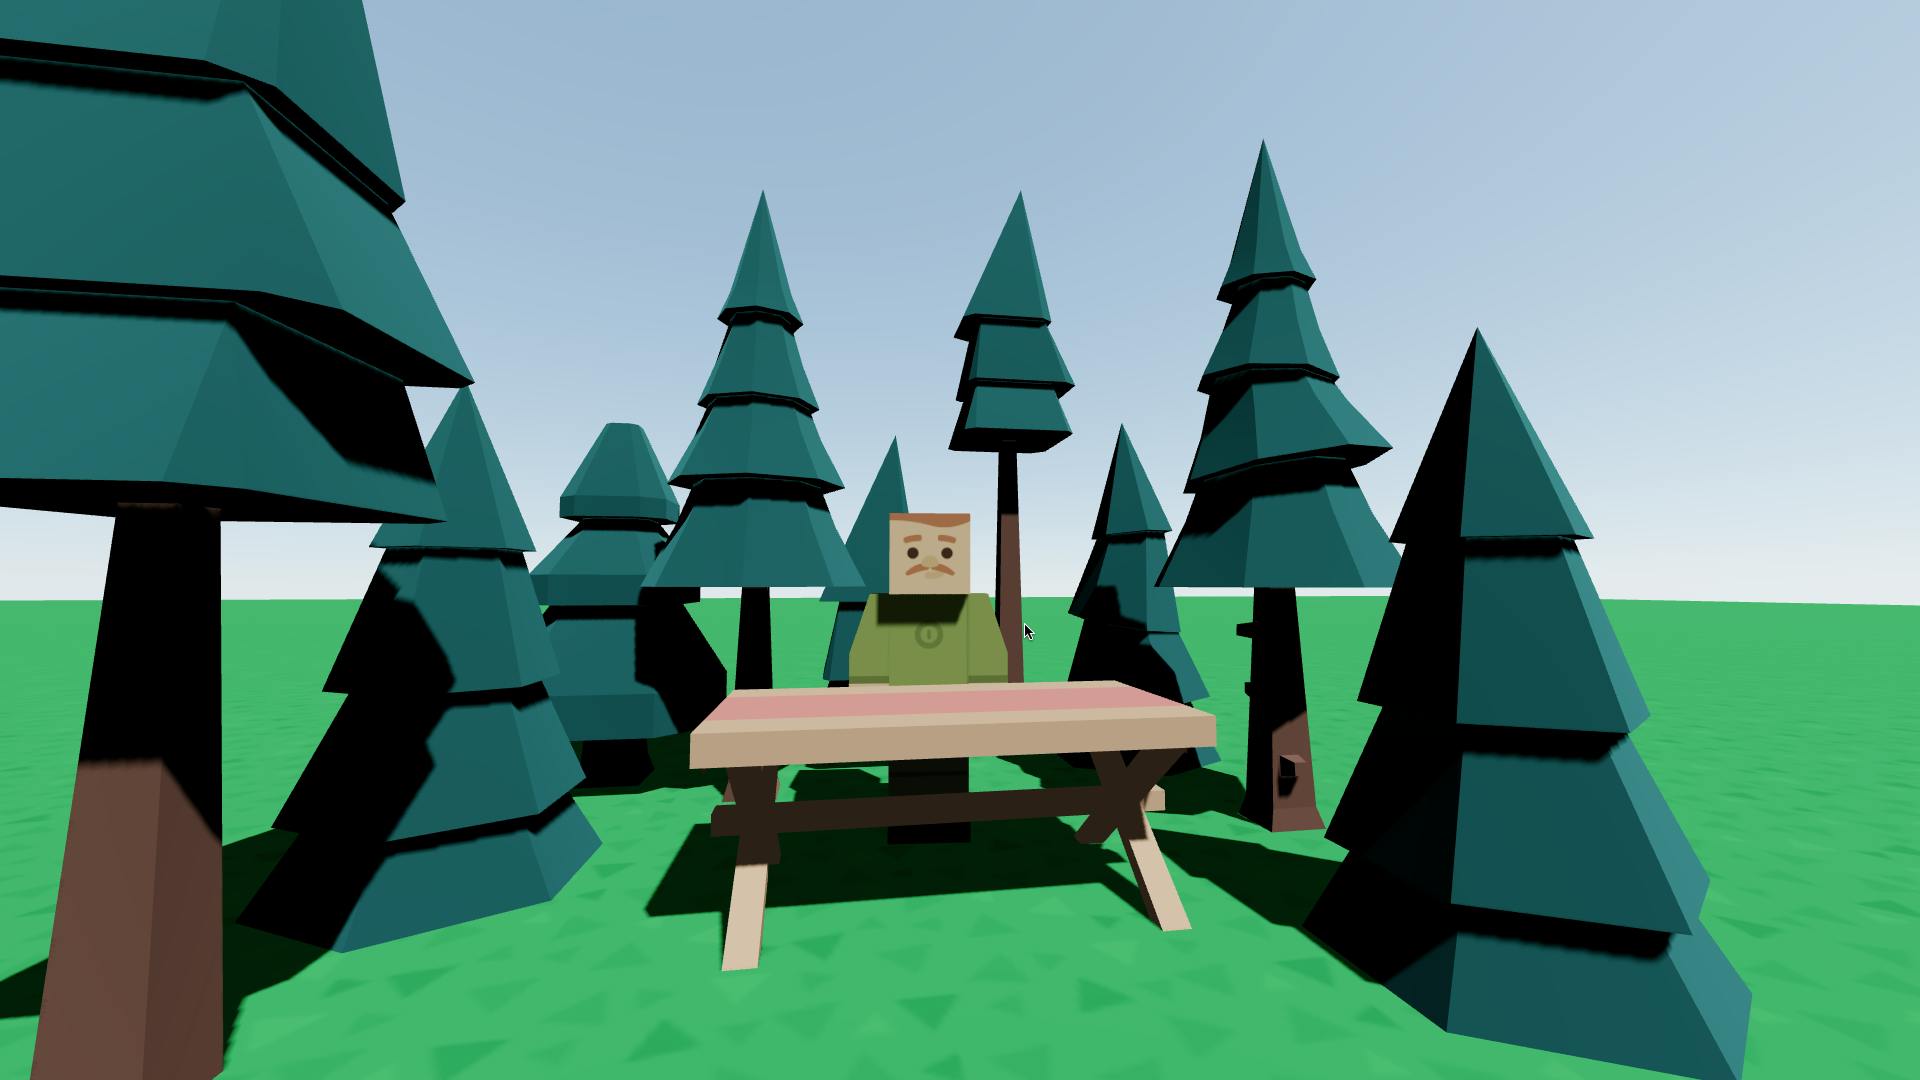
With that, we got all the things in our 3D world set up and are ready to move to the next part of the tutorial which is going to be about the Web3 side of things. We will add the wallet connection functionality to our application, create an NFT collection, display the mintable item which is stored on IPFS in the game and implement the logic necessary to fetch the player-owned NFTs and show them in a toolbar.
Next part of the series: How to create a 3D metaverse in React (part 2/3)
Links
Full source code: https://github.com/JonWofr/metaverse-demo
Deployed app: https://metaverse-demo-ten.vercel.app/